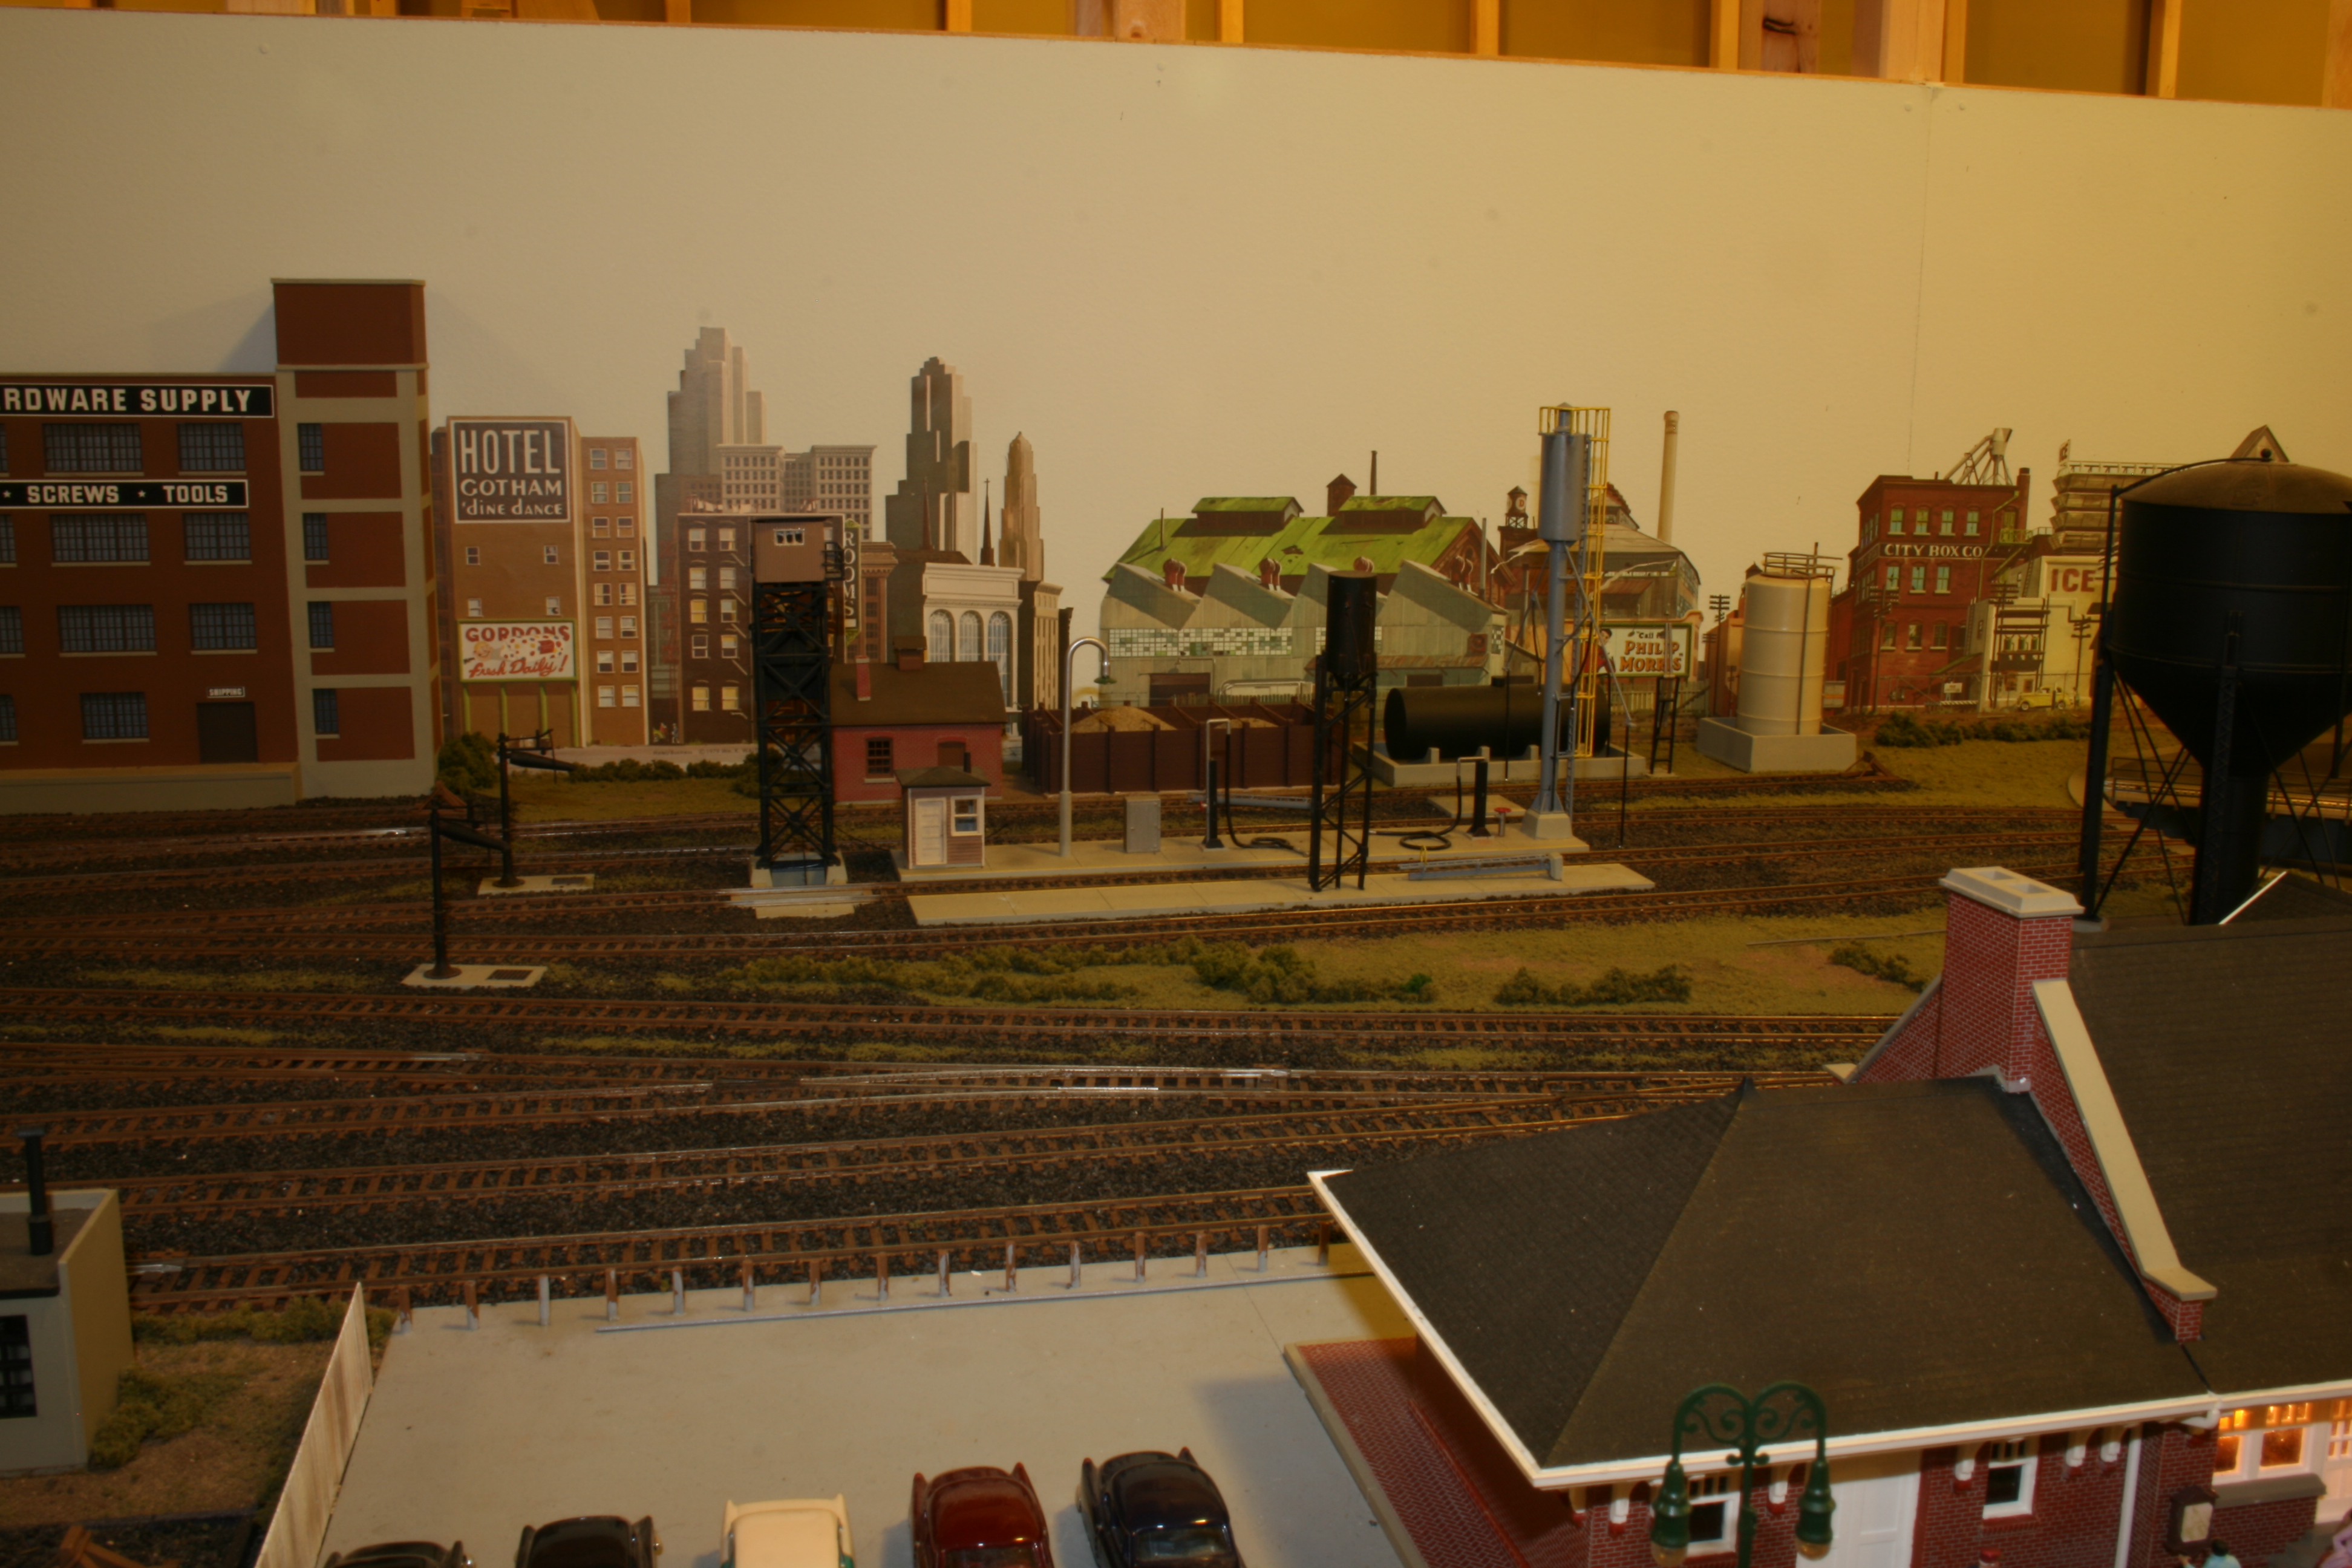
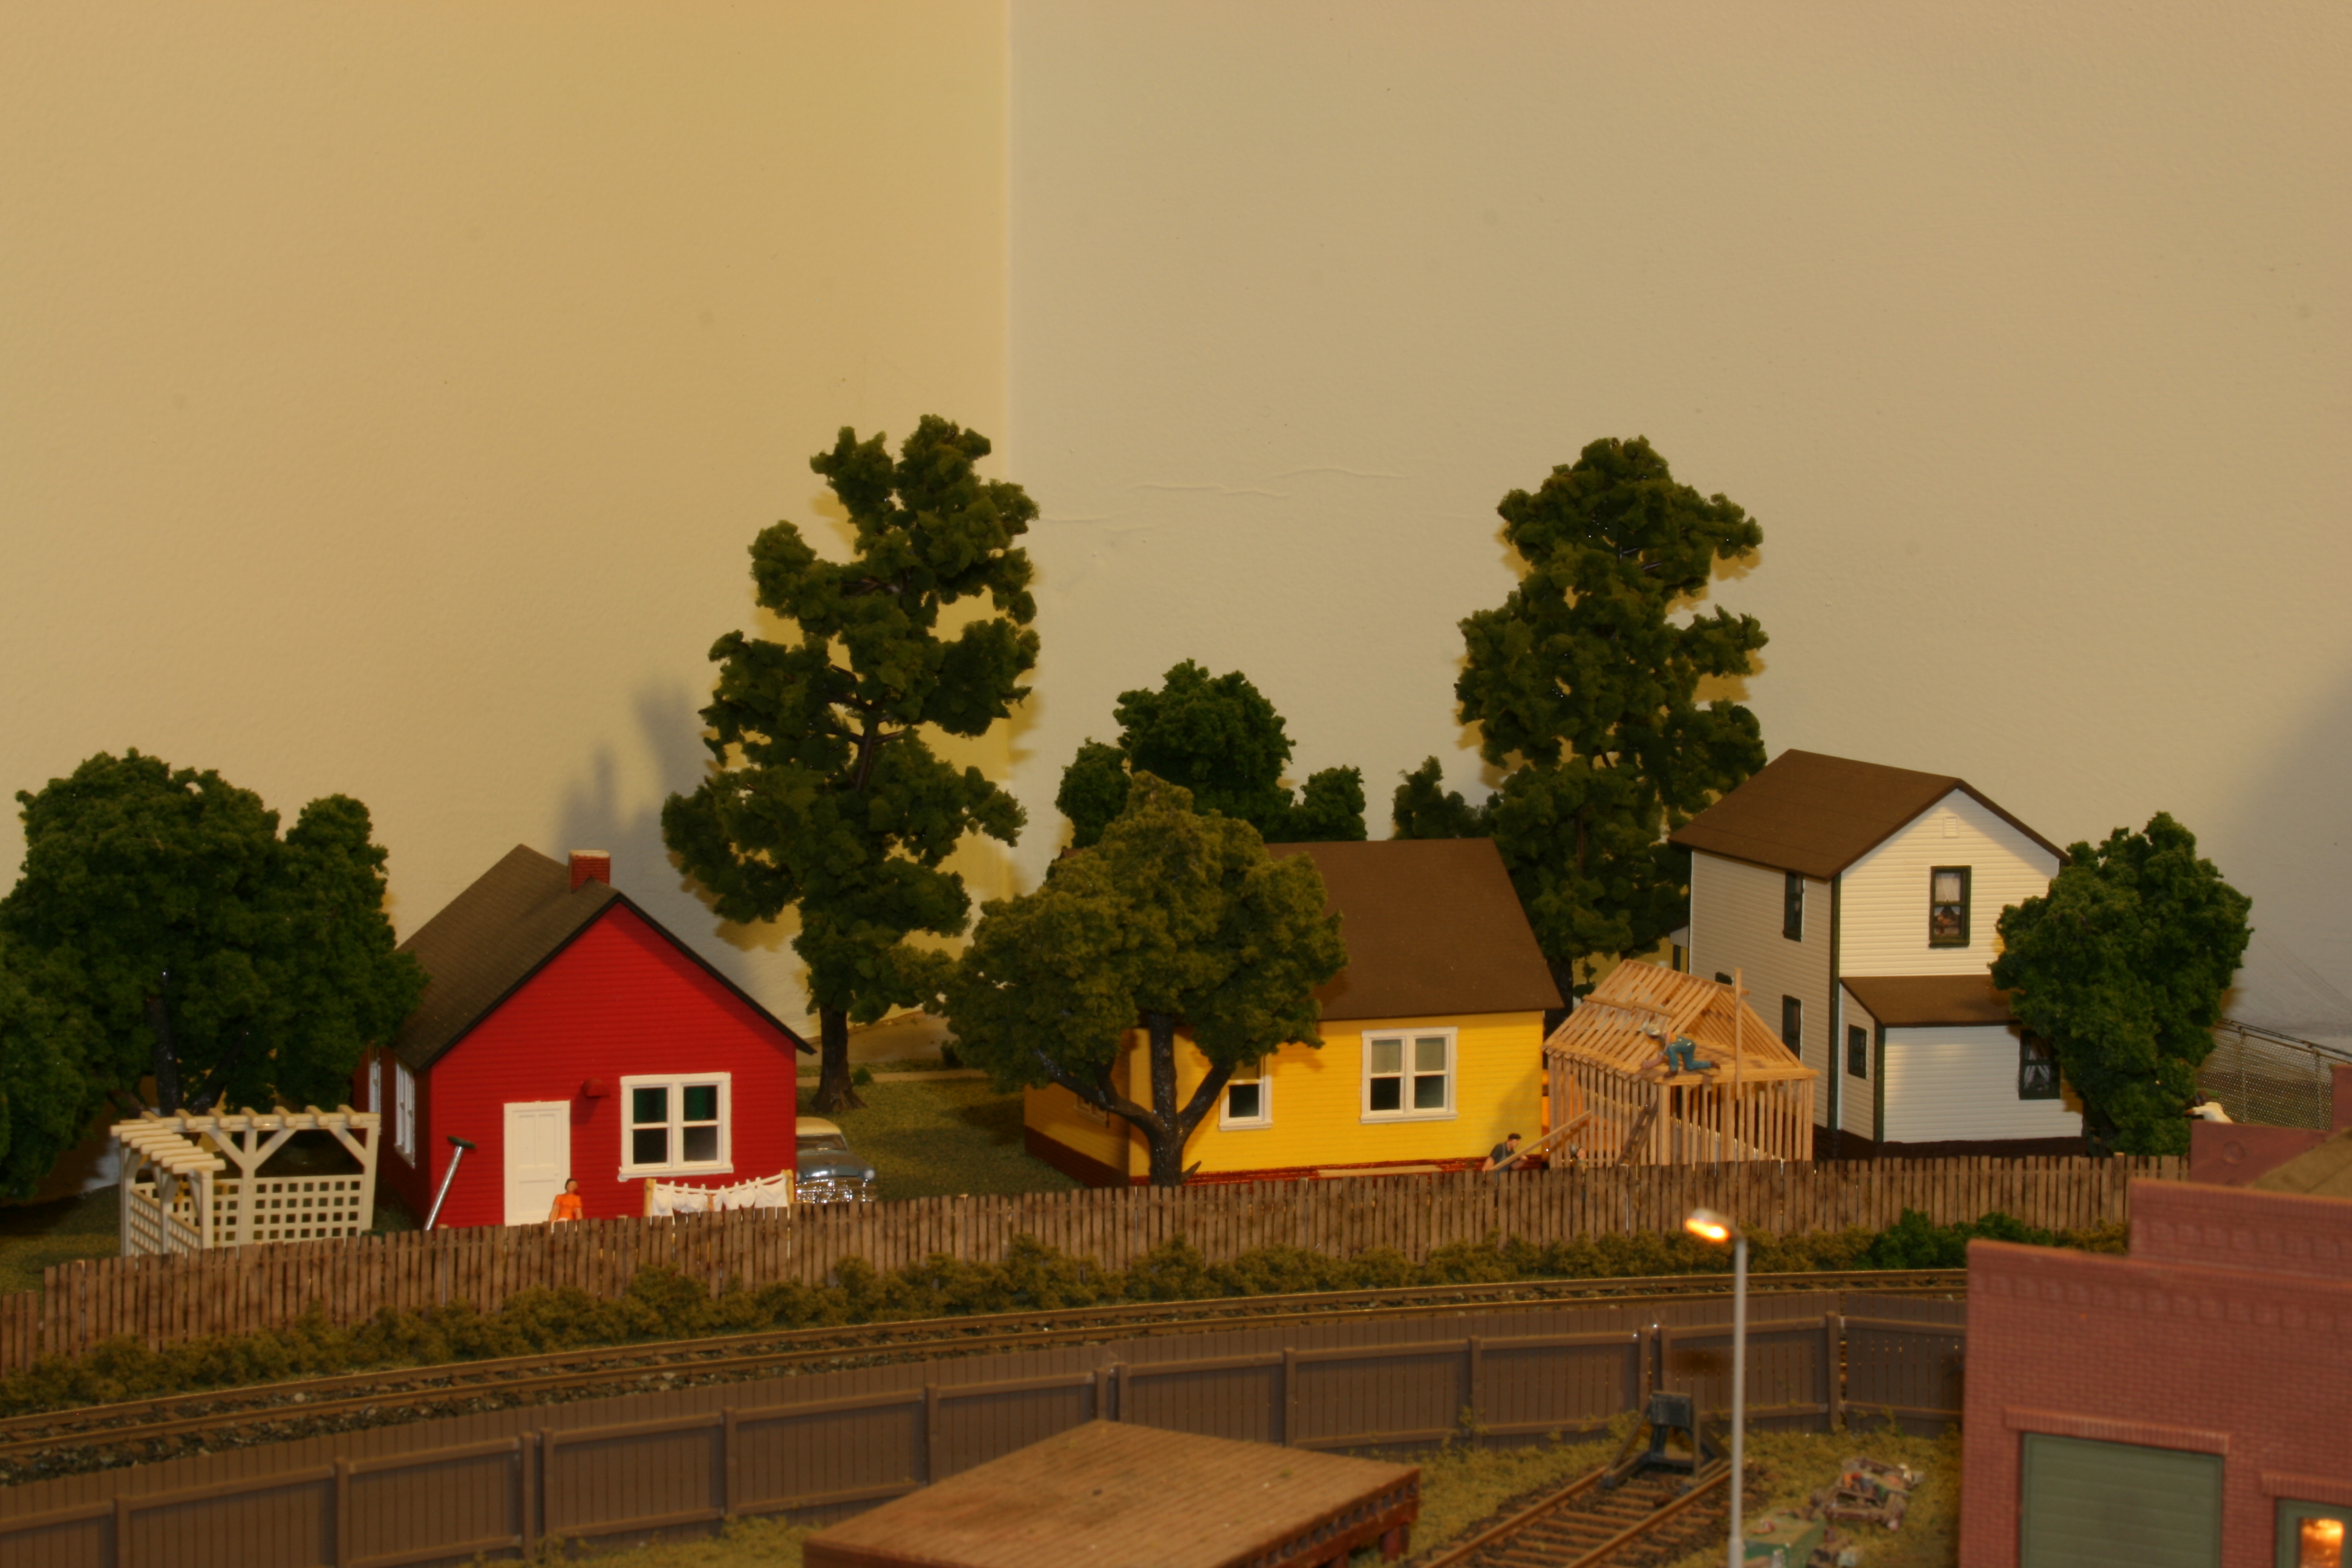
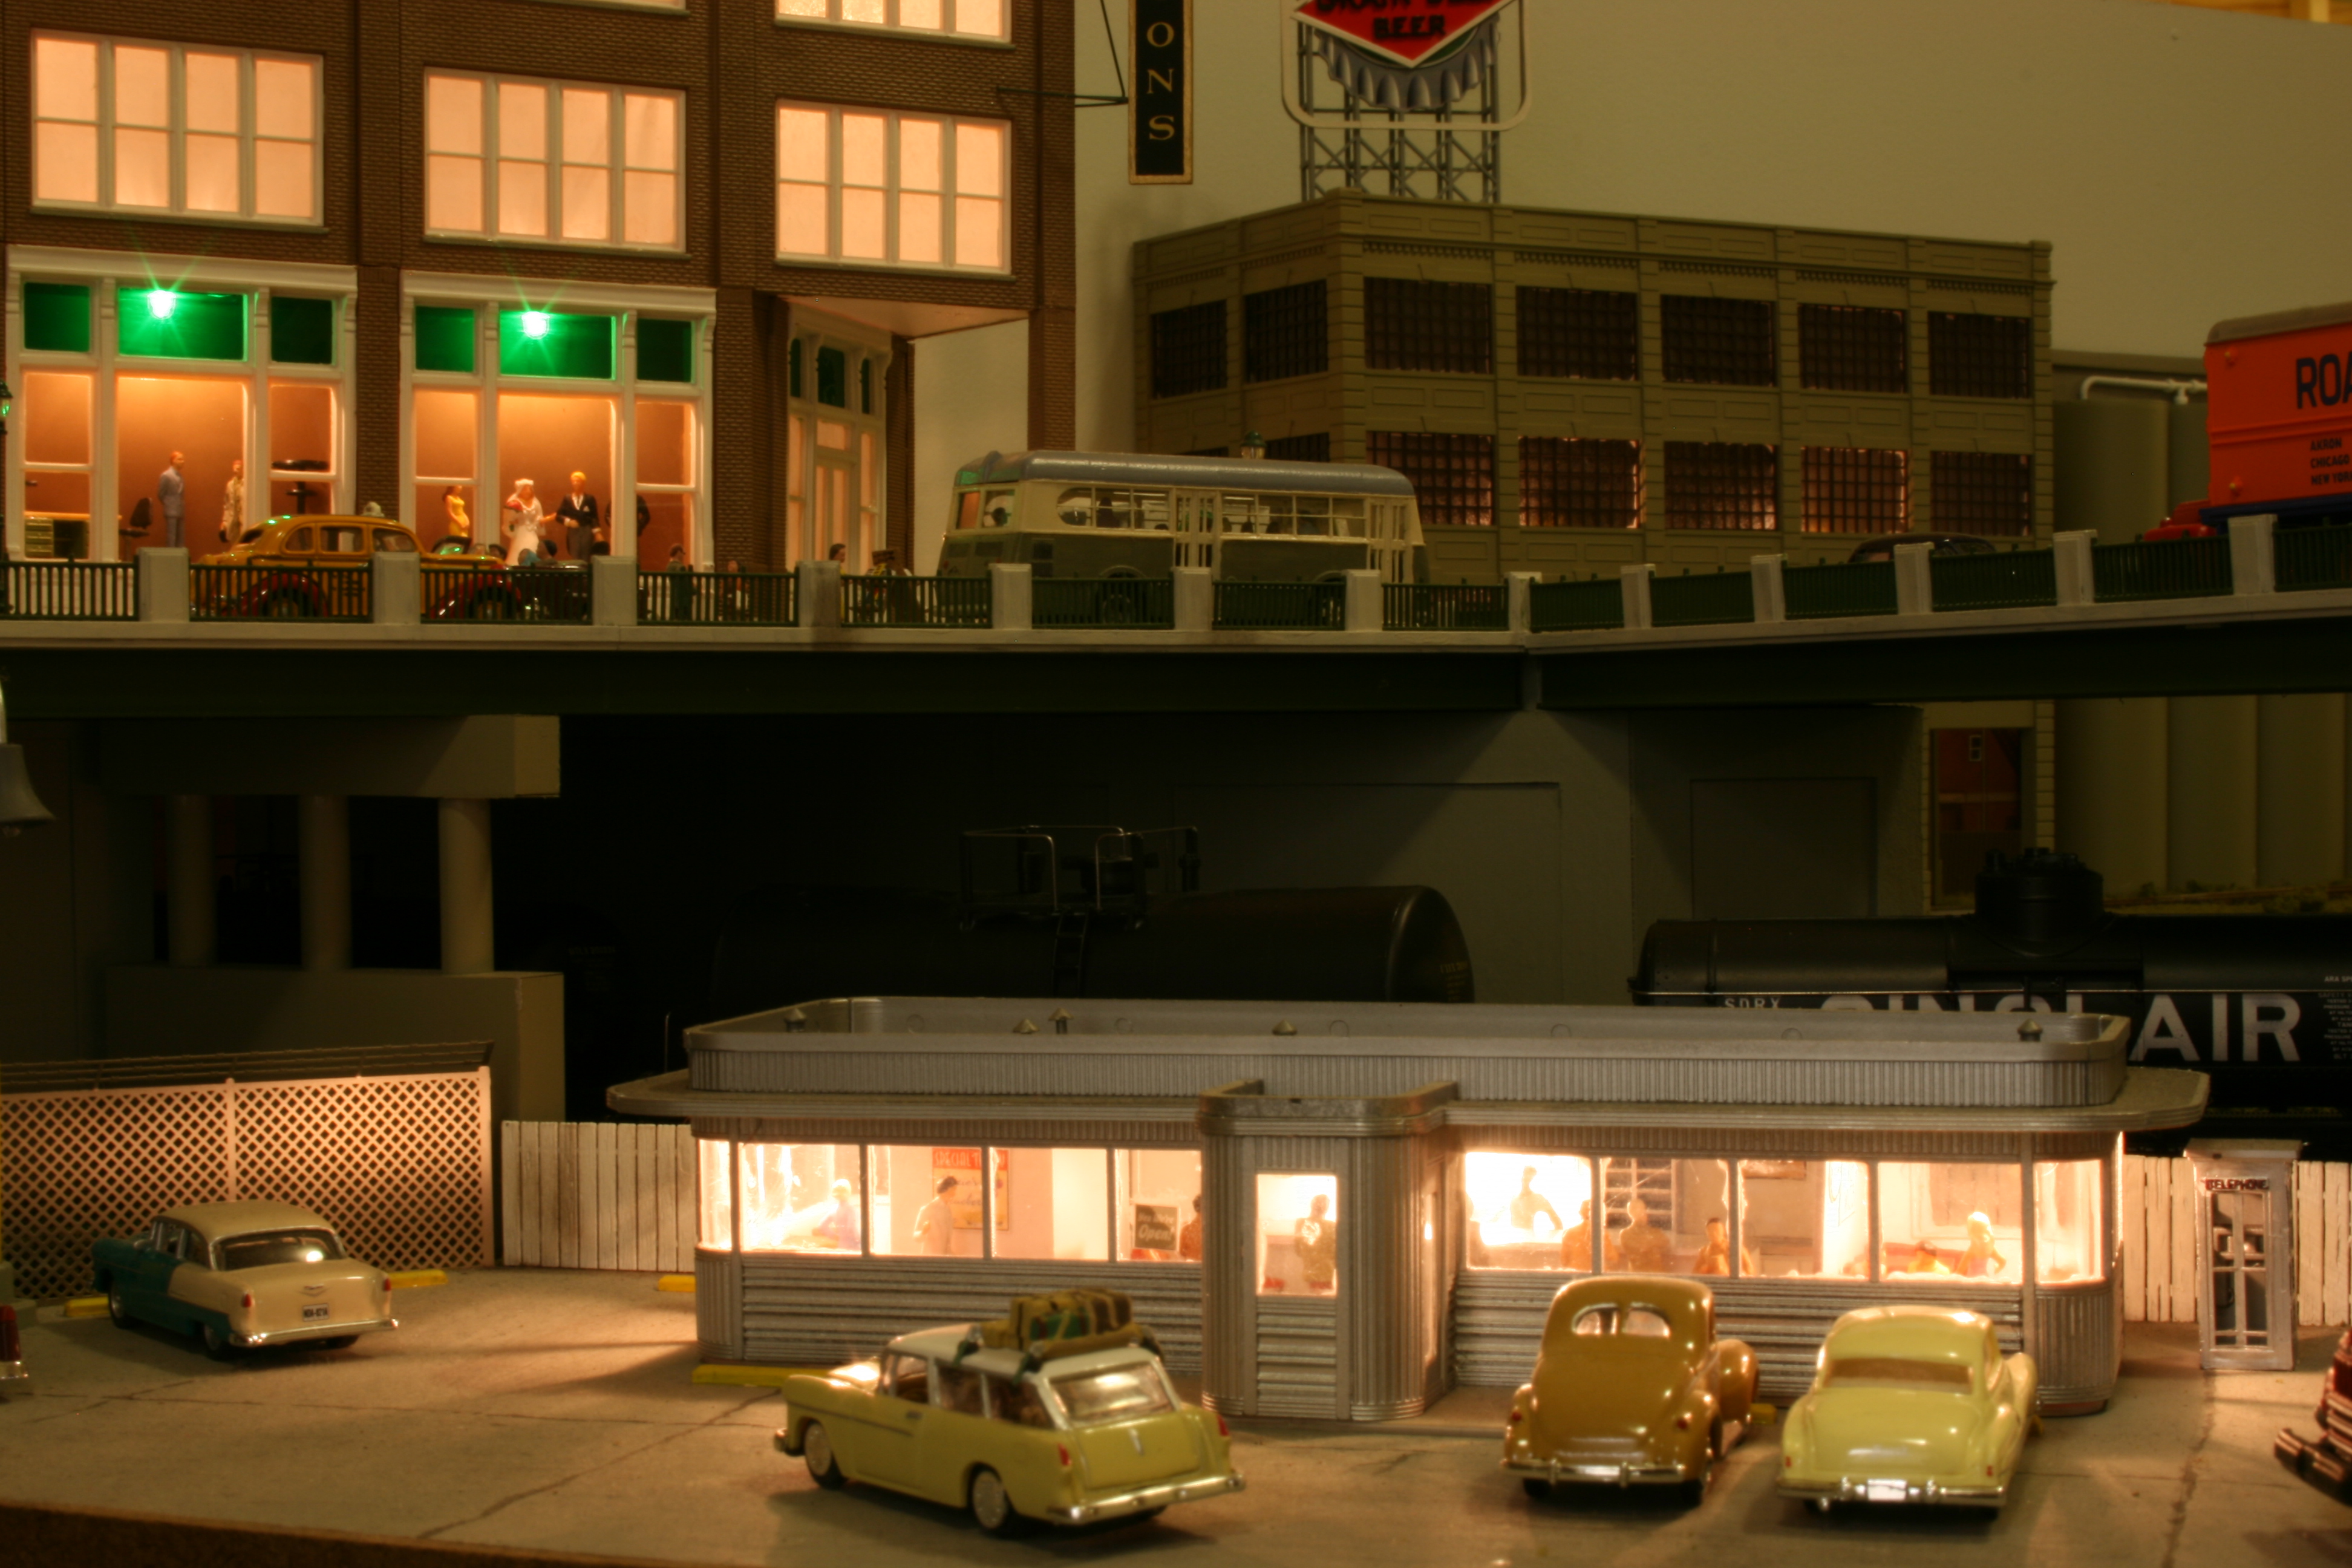
A view of an elevator scene and a couple of the little vignettes that make looking over a model railroad fun.


A view of an elevator scene and a couple of the little vignettes that make looking over a model railroad fun.
Once again scenes from the old layout. I promise to have an update in the next couple of days.


Just got back from a trip, thus still no progress to report. Hope you enjoy the pictures from the past.

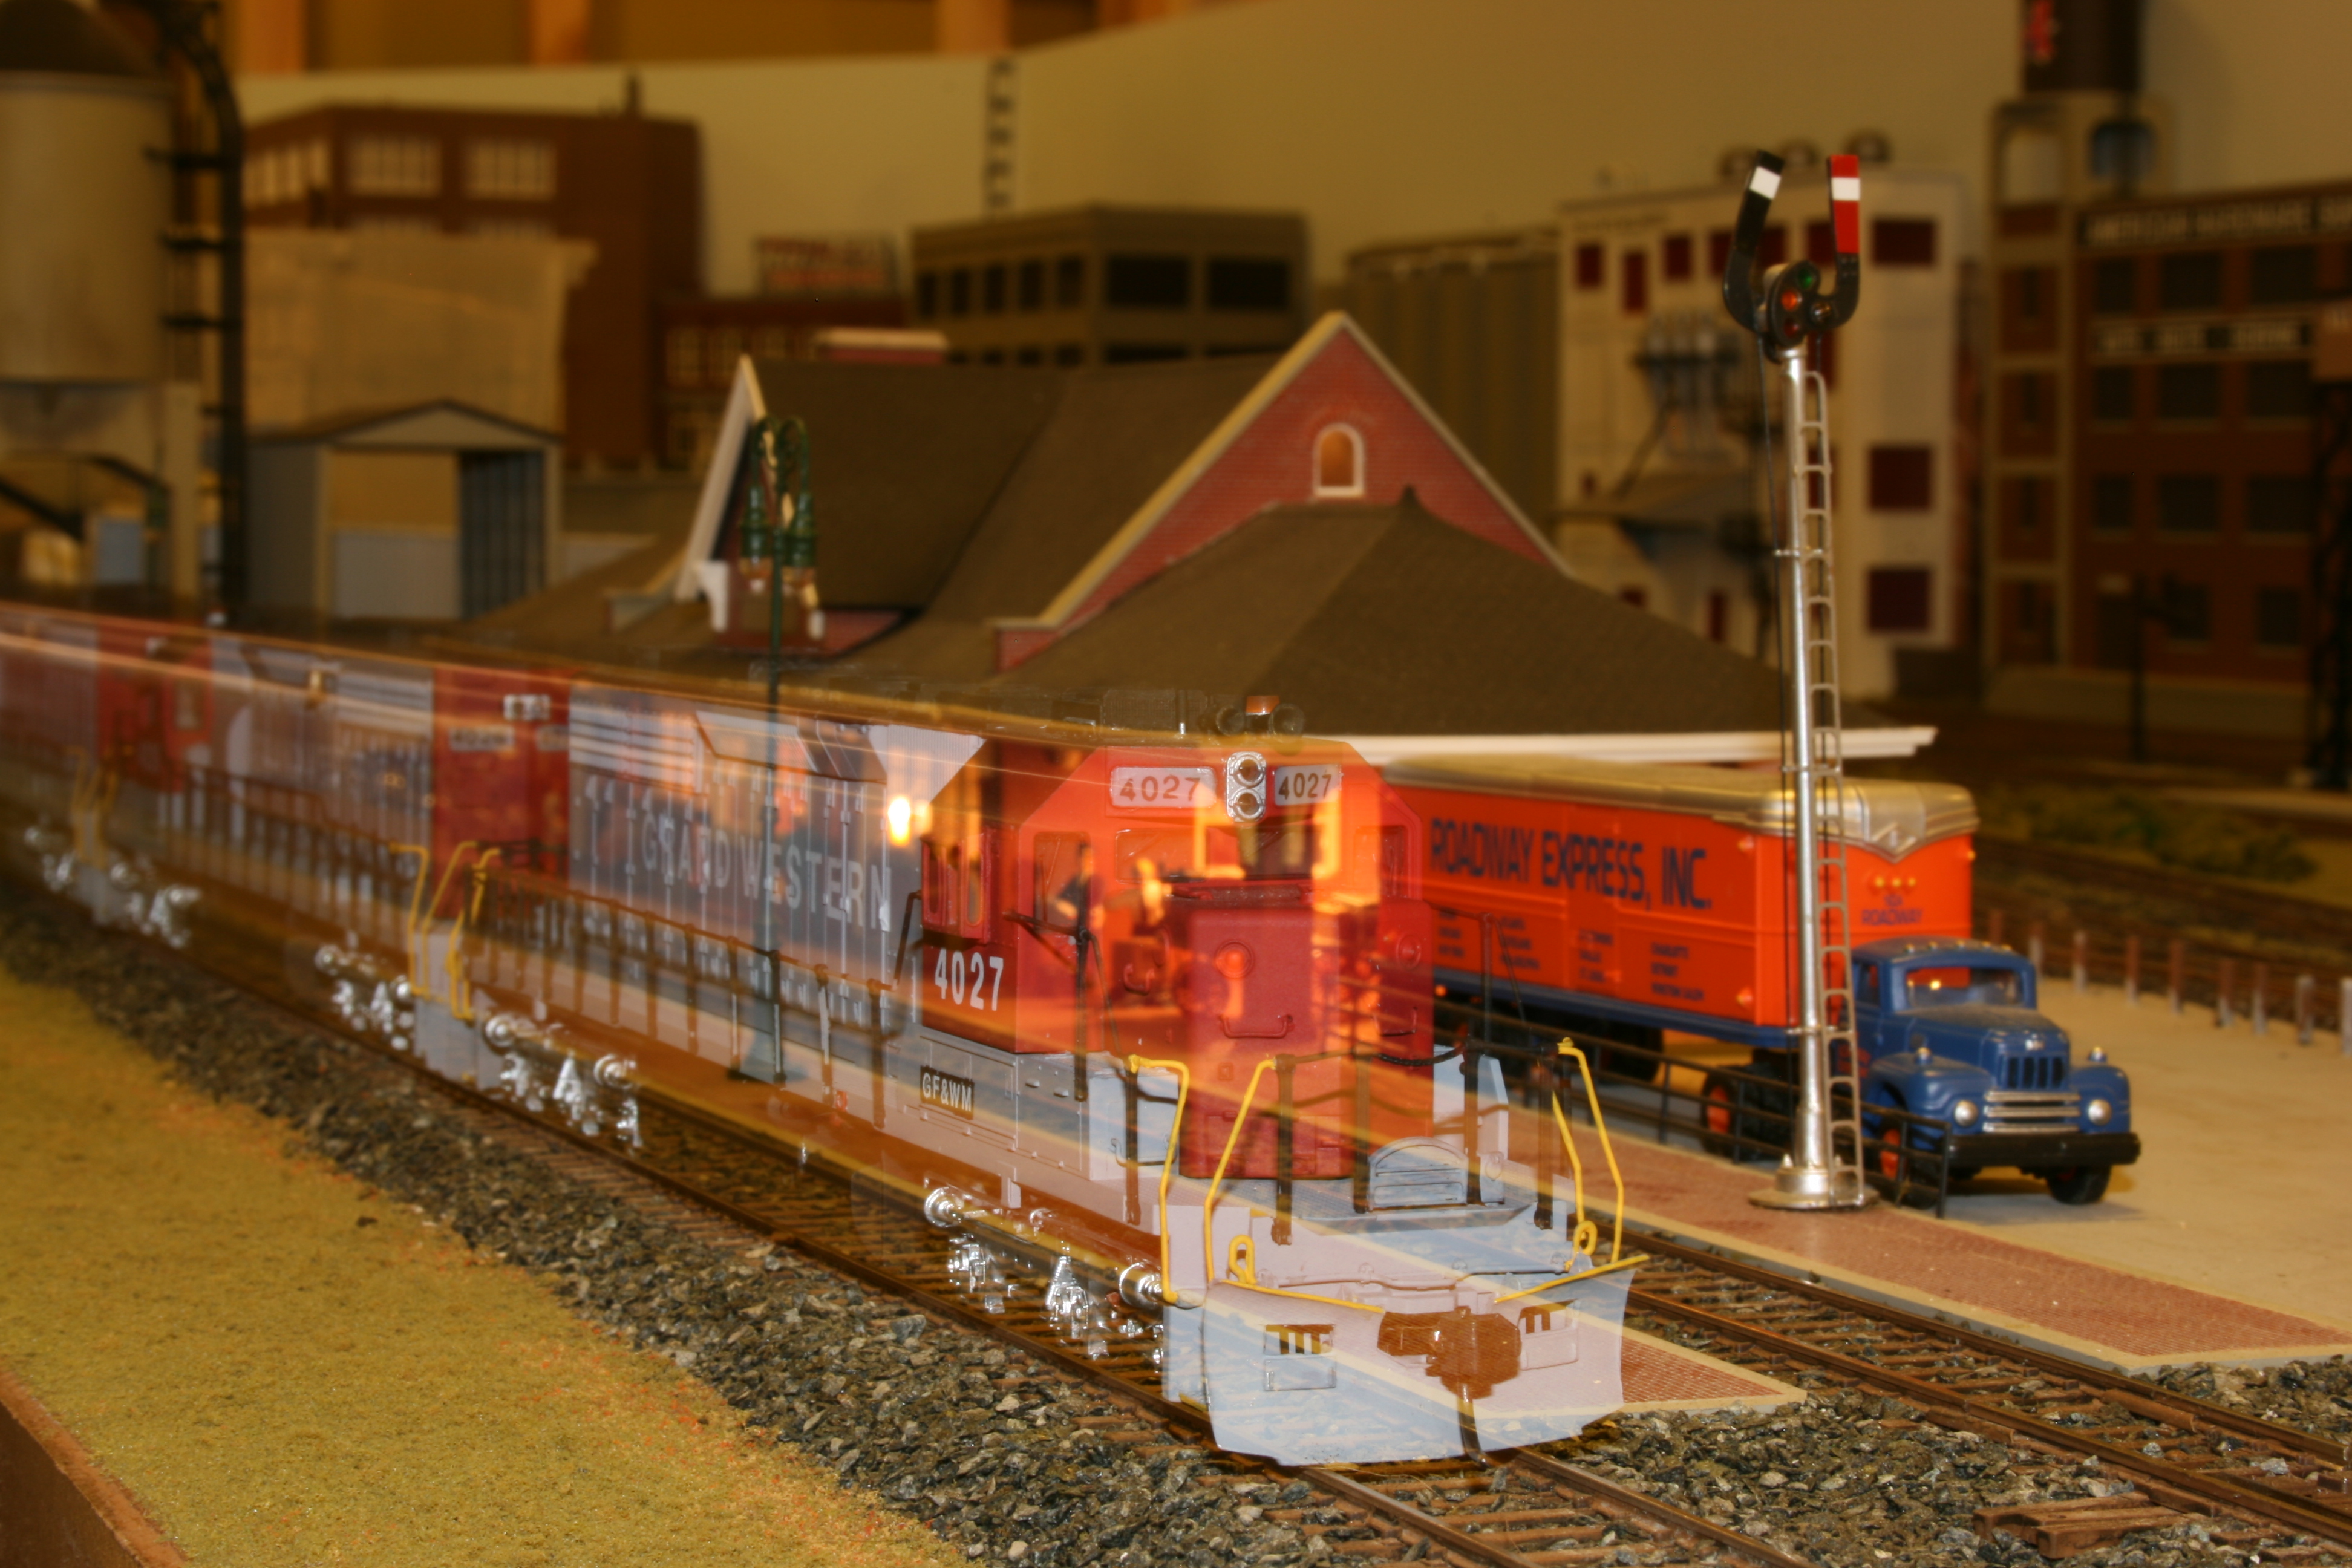
I have made a little progress on the railroad, however nothing exciting to report. Thought I would change gears and share some photos of the old layout. As I mentioned before the railroad was the Grand Forks and Western Minnesota (fictitious) Dba as the Grand Western Railroad. Loved The Grand Western part, reversed engineered the other part to show a history. However it gave the wrong impression of where the railroad operated. Thus the new name, which I love.
Enough of that, I hope you enjoy the pictures.


“Givens and Druthers” is the excepted term for what we want and what we would like on are model railroads. It seems a bit formal to me and I prefer to think of it as what I know and what I would like.
What I know: My railroad is set in 1954. It originally started out in 1953, but I picked up a couple of Classic Metal Works automobiles of 1954 vintage and the year jumped ahead. The railroad is double tracked. I like the looks of a double tracked railroad, possibly because during my youth we took many trips up north to visit relatives. The route was HWY 10 in Minnesota following what would be the Burlington Northerns double track main line. Also because of space constraints the length of the sidings would leave short single track portions, at which point it might as well be double tracked.
The layout will have 30″ minimum radius curves. 36″ minimum aisle width, with most being 42″ or greater. It will be double decked. I have finished the layout room with sheet rocked walls, a suspended ceiling, with plenty of overhead lighting. Also a finished floor. This is because the last layout was dark and cramped, very uninviting.
Most of the road power will be steam. The thought being that while the railroad is converting to diesel power, and what road wasn’t at this time, because of the length of the division steam was still a viable source of power. Diesel power will be making inroads even in this division but will not be prominent.
I will be using a Digitrax DCC power system for the layout. Which leads to the things I want:
I plan on powering all turnouts with Tortoise switch machines. They are a must on the upper level as it would be difficult to reach into the scene because of the height and I don’t want push/pull knobs on the fascia. They will be controlled by Digitrax DS 64 stationary controllers. A track diagram will be on the fascia with switch numbers and a bi-color LED to indicate the switch position.
There will be a signal system on the mainline. I will be using the Atlas signal system, and while I know that the type G signals were not that common, the system is pretty straight forward in installation. I will be using the NCE DB-20 for track detection.
While in the city sections there are no at grade crossings, as you move into the countryside the larger towns will have lighted crossing signals. The smaller towns will have only the standard crossbucks.
Scenery will consist of rural farming communities outside of the cities with predominately deciduous trees on the lower deck. The upper deck is set in more northern Minnesota with again rural settings with more evergreen type trees and rock outcroppings which is typical of this area.
That’s kind of it for right now. I have had all these thoughts rolling around in my head but have never written them down. I suppose it’s good that I am finally writing them down as it will make things easier going forward. As I think of more I will update the blog as to what they are.
Even as I tearing down the old layout I was measuring the total space for the new layout. So as not to run into the same problems I ran into with the old one, I measured everything twice and started to draw it to a scale of 1″=1′. If I ran into anything that didn’t seem right I would go back and double check it again. Once I had it right, I took it to a copy shop that could do a large format copy and had a half dozen copies made.
I then marked off the space that was off limits, the stairway, access to the utility room and access to a storage closet. I also marked off space around what be the end of the peninsula and workbench area. I know, this would seem to be common sense, but it’s an area I “cheated” on before. I then started to sketch various ideas and when nothing worked out, that’s when I came to the realization that no matter how many track planning books, model railroad operations books or software apps, for some reason planning a railroad was beyond me. That’s not to say I don’t understand how they work, I can look at other drawn track plans and I get how the flow on those work. What goes where and why. I just couldn’t do it.
So now I had this beautiful drawing of my basement, but no idea on how to plan a model railroad for it. But as I was looking at the drawing of the space I realized that I had seen this space before with a very successful railroad in it. The answer was Jim Hediger’s Ohio Southern Railroad ( version two ). I found the article in MR and started comparing his space and mine, I found that they were very close. Now, I’m not copying the Ohio Southern, rather I’m using it as a template. I drew the footprint with just the mainline drawn in to make sure that things would work like I wanted it too. I had a layout plan with mainline but without the individual towns, I figured I would work those out as I went along.
Then I had revelation number two. While looking through a back issue of MR, I came across an article about the Kirkland and DeKalb. The author had drawn an actual town and scaled it for a layout. It was an island layout with a staging yard on side and the town of Kirkland on the other. Looking at the town side of the layout I realized it would drop right into one side of the peninsula ( almost dimensionally perfect ). Tony Koester calls this a Layout Design Element. It’s then I realized that I could design the rest of the smaller towns in the same way, by finding pieces of other layout plans that could be adapted to my footprint
Now I had a working plan, now I could start construction. Drawing of the basement


“First I finished the train room” or some variation of this always seems to lead an article in the model railroad press. Other times there might be a short paragraph of what was done. It makes it sound like the guy was sitting around on Saturday afternoon and thought “gee, I have my layout sketched out and I would like to start the bench work tomorrow . I guess I’ll go down and finish the train room.” Now before you say something, I realize that yes, it is a model railroad magazine article and not a home improvement article, but they make it sound like it’s nothing to get this done. It wasn’t till I started reading blogs that I found others were going through the same lengthy process it takes to make an environment that makes it a pleasure to build and operate a layout in.
Two people who have done a great job at chronicling this are Jason Shron, owner of Rapido trains ( kingstonsub.com ) and Alan who blogs about his LK&O Railroad ( lkorailroad.com ). Alan has done a beautiful job of writing about and recording in pictures what it takes to finish a basement. If your just starting out, I would recommend reading through his blog to see what to expect.
As I said in a previous post, I finished my layout room and then partially gutted it to rebuild it. When I first finished the basement I had wanted a dedicated shop as well as the train room. The support columns more or less divided the basement into thirds, so using those as a guide I ended up with a shop that was approximately 10 x 16 and a train room that was 19 x 21. I finished the shop with a dropped ceiling, second hand fluorescent lighting, sheet rock walls and berber carpeting. The train room got sheet rock, a stapled tile ceiling and what I thought were enough light fixtures. No flooring. While the shop was to roomy, well lit and a pleasure to be in, the train room with the layout in it was dark, cramped and kind of sucked.
So I tore the layout down ( to the horror of my nephew ) and then took out the wall to the shop opening up a space that now measures out to approximately 19 x 31. I put in a dropped ceiling throughout , added new drop in fluorescent lighting and put in a laminate wood flooring. I know the conventional wisdom is to go with carpeting as it easier on the feet, but my reasoning was that I’m pretty sloppy and it’s easier to clean up a hard surface than carpeting ( plaster, paint, saw dust, etc. )
Side note: if your building a home, as we did, and you have the option of truss flooring or a joist flooring, go with the trusses, I wish I had . No support posts, no framing around pipes and duct work, just a nice flat ceiling and wide open space.
The remodel took about a 12 months, those bothersome work and family commitments getting in the way. When I finished, I stepped back and was amazed at the difference.
So now it’s finished, on to planning and construction.

Hello and welcome. I would like to thank you for visiting this site and hope you continue to stop by as I embark on my journey to build and model the Continental Northern railroad. If you had visited this site in the past (one of very few I suspect) and then found the site gone, I apologize. Life happens, work, family and other time commitments made it impossible to continue what I started at that time. I’m now on the other side of the things that would keep me from maintaining this site and progress on the railroad. Granted there will be times when other projects around the house or work will take precedence over the model railroad, there always is as everyone knows, I feel that I will always be able to offer a little insight about the railroad, progress or the modeling world whether I’m at home with no progress to report on or on the road for work with no ability to make progress on the railroad to report on.
As I become more adept at this I will be adding more content to the site, mainly my thoughts on the modeling world in general, pictures of my progress, the techniques which I am using for construction ( which I am very excited about ) , thoughts on planning a layout and projects on the workbench and the techniques used for these projects.
So again, hello and thank you for joining me.
Michael Bromander